Gallery
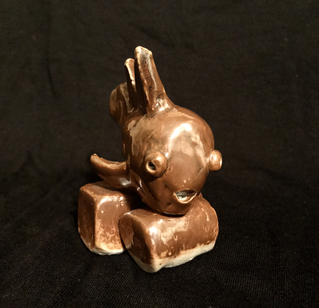
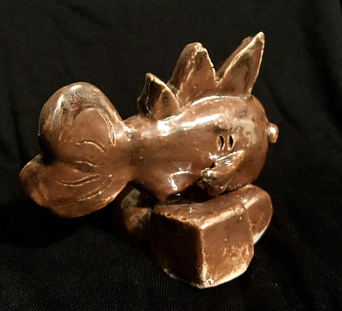
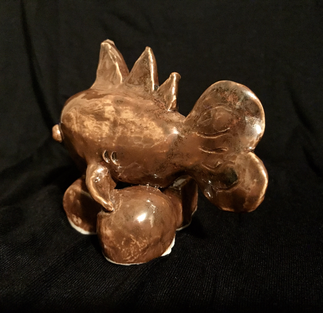
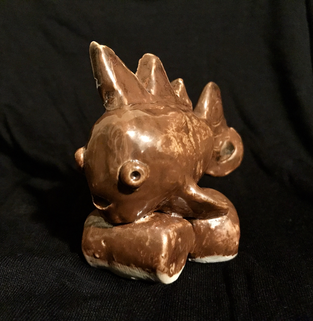
Fish and Shapes
1.13 in x 1.63 in
1.13 in x 1.63 in
|
|
'We started with a wedged ball of clay and started forming shapes. A rectangular prism, sphere, cube, pyramid, and cylinder. We then made a ball of ball to which we extended to an oval to make the fish's body. We then passed our fish to our left partner so they could add the tail by scoring and then blending. We then passed our fish the person on the right so they could add the fins with the same process. After, we made indents, with the back of the pin tool, to make eye sockets. I rolled little balls of clay to stick in the eye sockets and made little holes for the pupils. We then hollowed out the fish and the shapes with a loop tool so it could dry and fire evenly. We attached the shapes to the fish by scoring, then we let it dry. After it was fired in the electric kiln, I took it and glazed it by dipping it in the tomato red glaze.
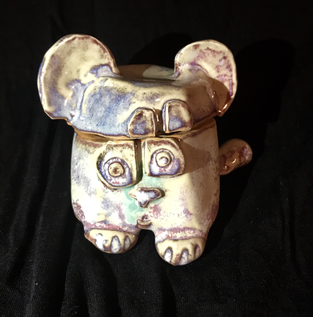
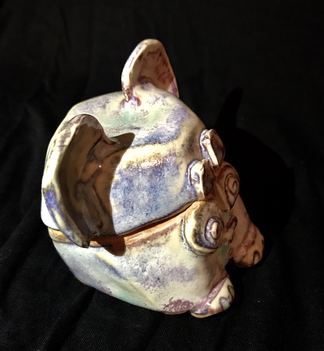
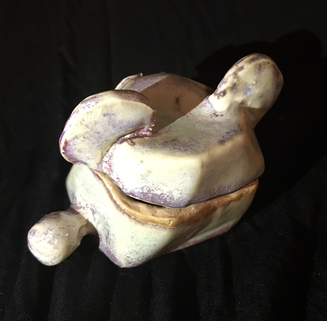
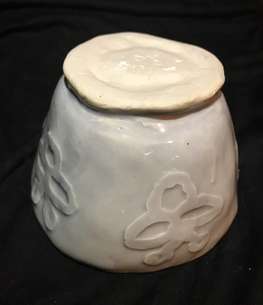
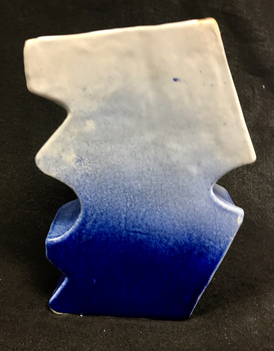
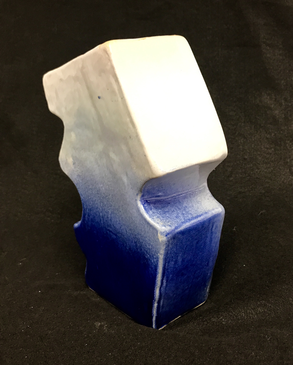
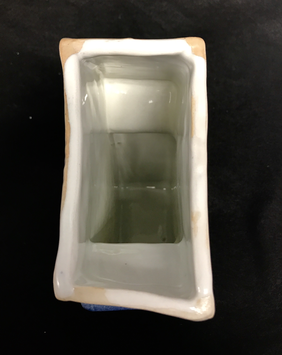
Panda Drop Box
1.75 in x 2 in
1.75 in x 2 in
|

|
We started with a ball of clay, and with a paddle made different types of sides. After we made our sides we took the toggle and cut it 3/4 of the way. We then hollowed out the inside of the lid and the box. After everything was hollowed, we started to add the shapes and features that belonged to that character. After it was fired thru the kiln, I decided to glaze my drop box a blue color that when put in the gas kiln turned kind of purple.
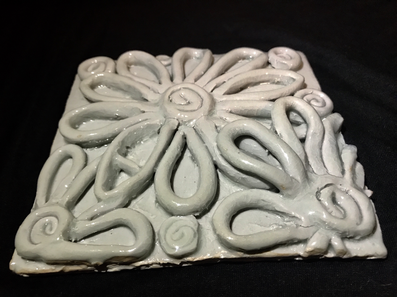
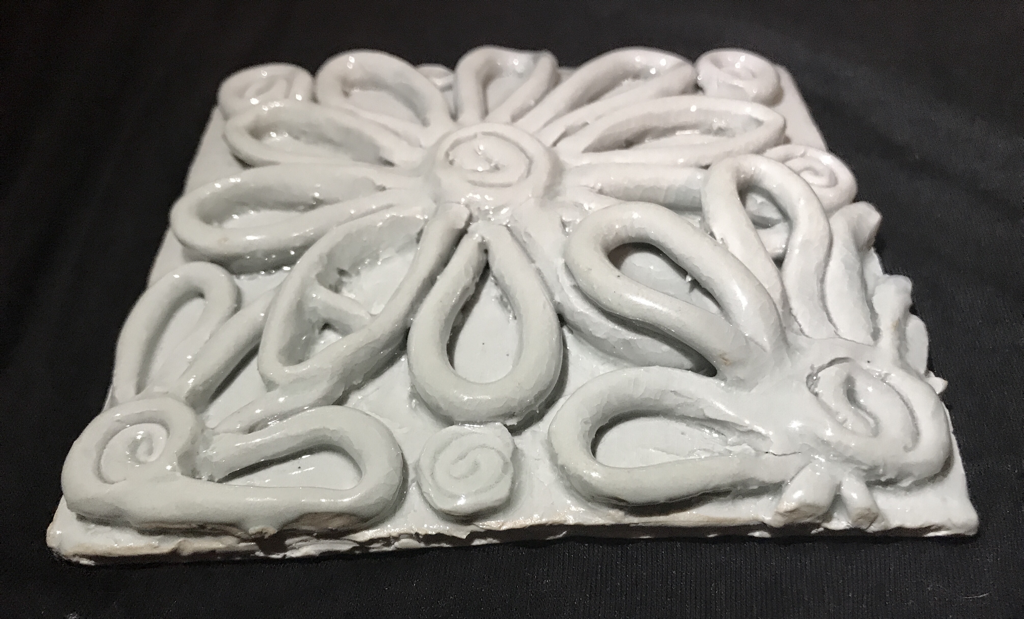
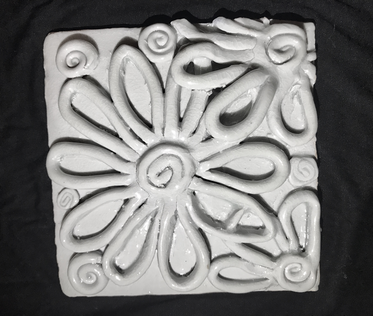
Zen-Tile
2.88 in x 2.88 in
2.88 in x 2.88 in

|
|
We started with a wedged ball of clay that we pat down, in order for it to fit in the slab roller. After it went through the slab roller we used the template to cut out the size. We then rolled coils and shaped them into the forms/ patterns we wanted for our coil zen-tile. I decided to glaze my tile a light blue.
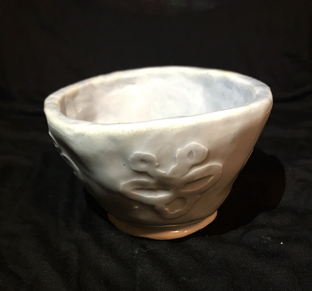
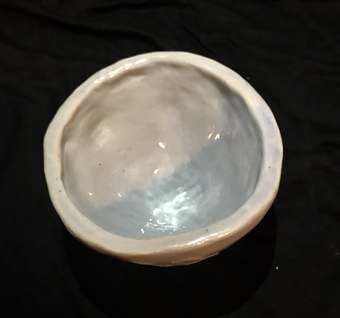
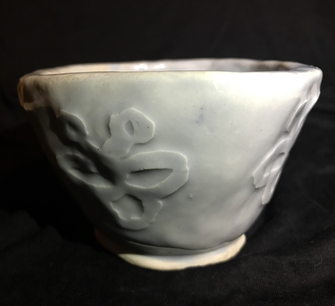
Tea Bowl
1.5 in x 2 in
1.5 in x 2 in
|
|
We started with a wedged ball of clay and with our thumbs, we started "digging" into the middle to create the little dip. We then started pinching the bowl around to get even walls all around. We then made a coil, cut it diagonally, so they would fit together, scored, and slipped it on to the bottom of the bowl. After we smoothed out the rim so it wouldn't be squared. The technique I used to make a design was water etching. I used wax to create my design. I then let it dry and with hot water and a sponge, I sponged over the clay so the clay on the bottom would slowly get removed, giving the clay under the wax a 3D look. I also glazed my bowl blue.
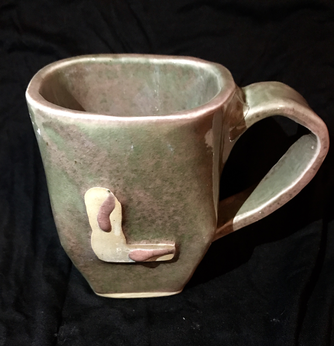
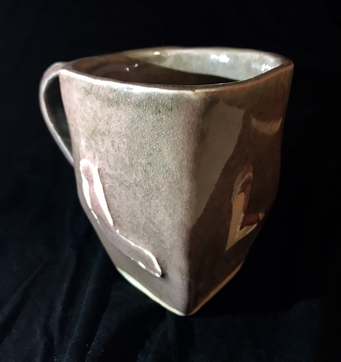
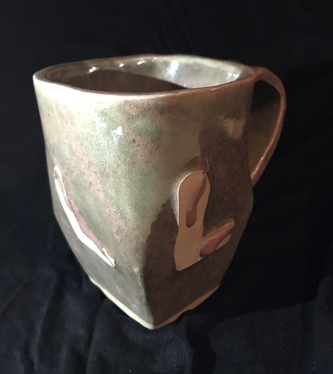
Slab Mug
2.13 in x 1.56 in
2.13 in x 1.56 in
|

|
We wedged a piece of clay and ran it under the slab roller. We traced and cutout the stencil. To stick all the sides together I scored and slipped each side to be able to stick them together. After I put all the sides together, I added the bottom and the handle, which were also made from slabs. I decided to glaze my mug oribe.
Vase
4.5 in x 1.88 in
4.5 in x 1.88 in
|

|
For the vase we also made slabs from wedged pieces of clay and traced the stencil we had created. To get each side piece precise, we beveled cut them, scored, and slipped. To make sure the were attached on firmly, we added a coil to the inside and smoothed it out. After adding everything together, I focused on smoothing everything on the outside. I picked to spray my vase with blue glaze, and the inside was glazed white.
